
Reformatting a USB stick on a Windows PC

This step by step guide will show you how to reformat a USB flash drive on a Windows PC.
Tip: It's advisable that you use a blank USB stick when reformatting or make backups of all files that are stored on your device as the below steps will erase all the data from the flash drive.
Before you start, be sure to check out our guide as to which formats offer the greatest compatibility between operating systems.
1. Locate the USB stick on your computer, then using the side-bar right click on the storage device and click Format.This should bring up a window which will show various options that you can select in relation to formatting your flash drive.

2. Select your prefered file system from the drop-down list. If you plan on using the USB on both PC and Macs we recommend selecting either FAT32 or exFAT. Afterwards, you can if you wish, select an allocation unit size for your USB, most of the time, however, the default allocation adjusts accordingly to the system format you've chosen so don't worry about this too much.
Once you're happy with your choices click the Start button.
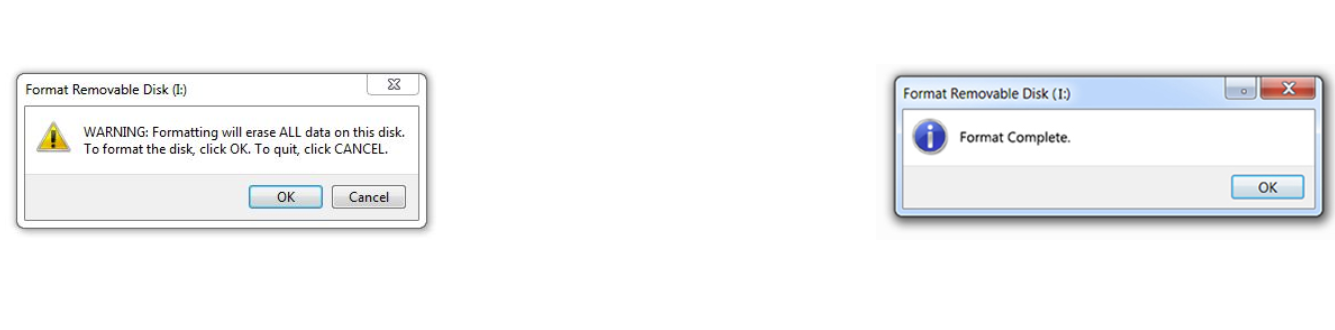
3. After clicking start another window should open with a warning in regards to formatting your USB and how it will erase all data on the device. Click OK and after a few moments, another window should open telling you that the format has been completed.